Hướng dẫn nhỏ add Docker image to Google Container Registry
31st Mar 2022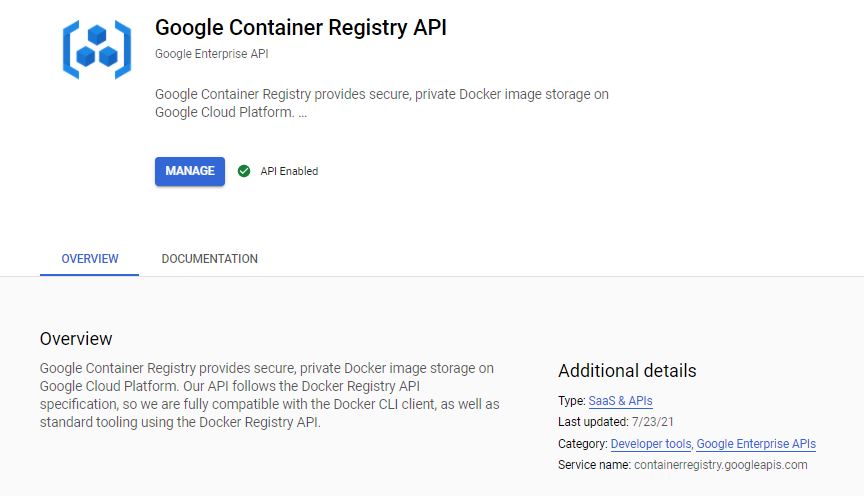


You will need the following items to complete this tutorial.
- Enabling Container Registry service.
How to enable Google Container Registry Service?.
There are three ways to enable the Google container registry service.
The first method to enable container registry service is to use the Google Cloud Console interface. Log in to the cloud console, search for the library in the search bar, and select the API library under the products and pages. Lastly, type container registry in the API library search field and select the container registry option. Finally, to activate the container registry service, select the enable option.

The second method to enable container registry service is to use the Google Cloud SDK. If Cloud SDK is not already installed, install it and run the command below.
gcloud services enable containerregistry.googleapis.com
The final method to enable container registry service is to use the activate cloud shell option on the cloud console interface. Click on the Activate Cloud Shell icon on the top of the page, select the project and run the following command.
gcloud services enable containerregistry.googleapis.com
How to disable Google Container Registry Service?.
Follow the first method's process steps, click on the manage option, disable the container registry service, or execute the following command in the Cloud SDK or Cloud Shell.
gcloud services disable containerregistry.googleapis.com
Step - 1: Pulling images from Docker Hub.
First, Pull an image from Docker Hub. For instance, Bitnami WordPress.
To pull an image from the docker hub. First, activate the Cloud Shell or Cloud SDK, select the project, and then run the command in the shell.
Syntax:
docker pull <image-name>
Example:
docker pull bitnami/wordpress
Output:
info@cloudshell:~ (elegant-canto-331917)$ docker pull bitnami/wordpress
Using default tag: latest
latest: Pulling from bitnami/wordpress
be4dd8fa80cd: Pulling fs layer
7bfc475a498d: Pulling fs layer
201948475715: Pulling fs layer
7f854d3b5479: Pulling fs layer
0b2f6ca26fed: Pull complete
d40acb8f5dd2: Pull complete
dad243f56cae: Pull complete
ac14a9f37511: Pull complete
ea9bb6b9d909: Pull complete
d8ecaa0cca9b: Pull complete
1f63d9c74466: Pull complete
9252331fa9c5: Pull complete
768240d5da1c: Pull complete
42089906cad1: Pull complete
64b9711255b4: Pull complete
b5dd18d92e96: Pull complete
c26ce1cd1205: Pull complete
ad5d6b51303c: Pull complete
c85e7d7f2449: Pull complete
77dcd3d579f4: Pull complete
Digest: sha256:026cba4d5bd6a46cee20e99c24d346145036d4e8d055a77b9b7a2d6c4f989604
Status: Downloaded newer image for bitnami/wordpress:latest
docker.io/bitnami/wordpress:latest
You can use a versioned tag to use a specified version. The Docker Hub Registry contains a list of available versions.
docker pull bitnami/wordpress:5.8.3-debian-10-r17
Please remember that if you don't specify the versioning tag to the image, then the "latest" version is pulled by default.
Step - 2: The image's target path should be tagged.
Before you push the image to the container registry, you must assign a label to the image with the hostname and project ID.
What is a Hostname?.
In the container registry, a hostname relates to a storage location in one of the regions.
If you prefer to store your images in US data centers, use the hostname "gcr.io," or "asia.gcr.io," or "eu.gcr.io." for Asia and Europe
Syntax:
docker tag <image-name> <hostname>/<project-id>/<image-name>
Example:
docker tag bitnami/wordpress gcr.io/elegant-canto-331917/bitnami-wordpress
In the above example, "bitnami/wordpress" is the image name, and I prefer to store that image in the US data center. So I used "gcr.io" hostname and the project ID "elegant-canto-331917," and lastly the image name.
For tagging specific version.
Syntax:
docker tag <image-name> <hostname>/<project-id>/<image-name>:<tag>
Example:
docker tag bitnami/wordpress gcr.io/elegant-canto-331917/bitnami-wordpress:5.8.3-debian-10-r17
Step - 3: Push (Add) the tagged image to the Container Registry.
Using the following command, upload the tagged image to Container Registry.
Syntax:
docker push <hostname>/<project-id>/<image-name>
Example:
docker push gcr.io/elegant-canto-331917/bitnami-wordpress
Output:
info@cloudshell:~ (elegant-canto-331917)$ docker push gcr.io/elegant-canto-331917/bitnami-wordpress
Using default tag: latest
The push refers to repository [gcr.io/elegant-canto-331917/bitnami-wordpress]
a9ee82d552b1: Preparing
67a619110b71: Preparing
da7bbcbda7a6: Preparing
16df60a52887: Preparing
21153d95e9fd: Preparing
6ca59744fa5b: Preparing
latest: digest: sha256:026cba4d5bd6a46cee20e99c24d346145036d4e8d055a77b9b7a2d6c4f989604 size: 4516
Finally, Navigate to the container registry images interface in the cloud console to verify the pushed image in the container registry.

Conclusion:
Here are some recommended tips and tricks.
Use the following syntax to pull and push a specific version of the docker image to the container registry.
To pull a specific version:
Syntax:
docker pull <image-name>:<tag>
Example:
docker pull drupal:7
Tagging
docker tag drupal gcr.io/elegant-canto-331917/drupal:7
To push a specific version:
Syntax:
docker push <hostname>/<project-id>/<image-name>:<tag>
Example:
docker push gcr.io/elegant-canto-331917/drupal:7


Add new comment